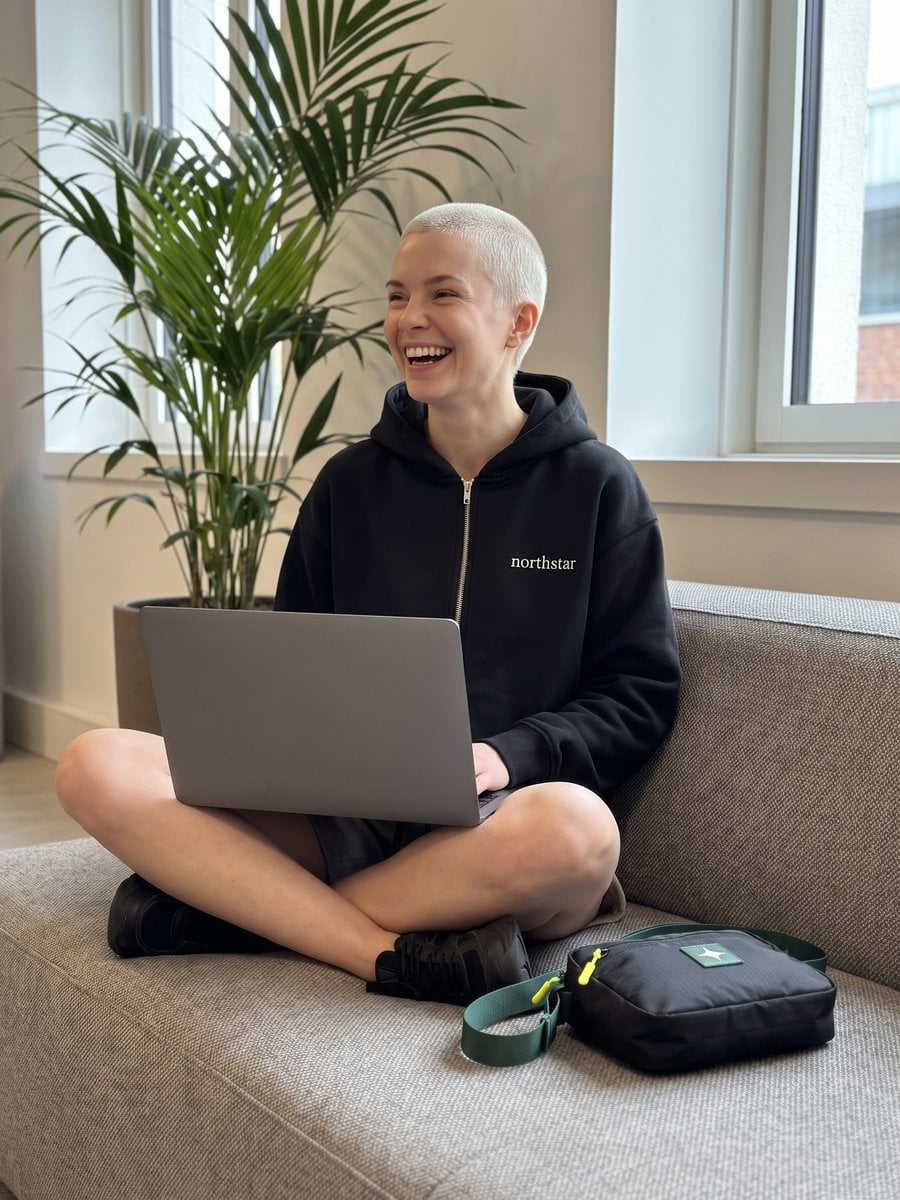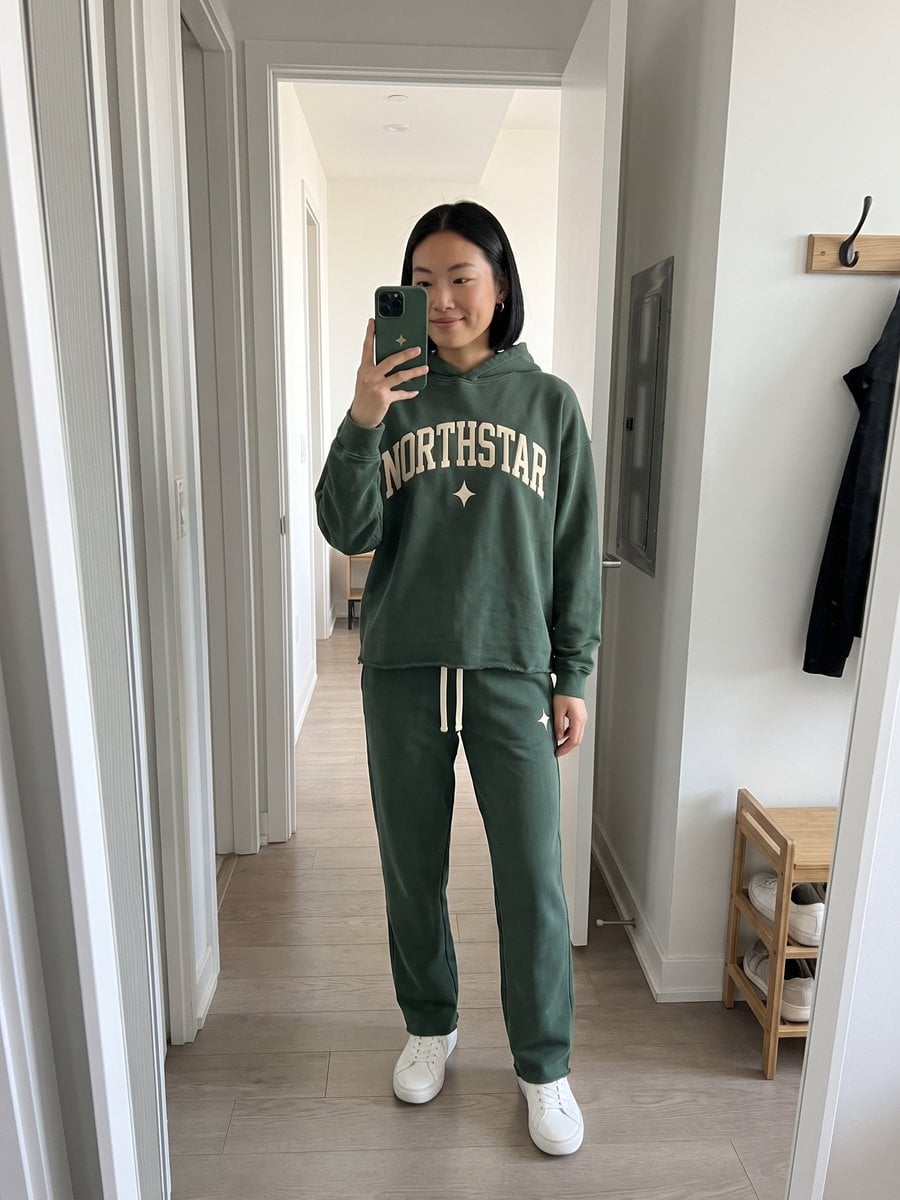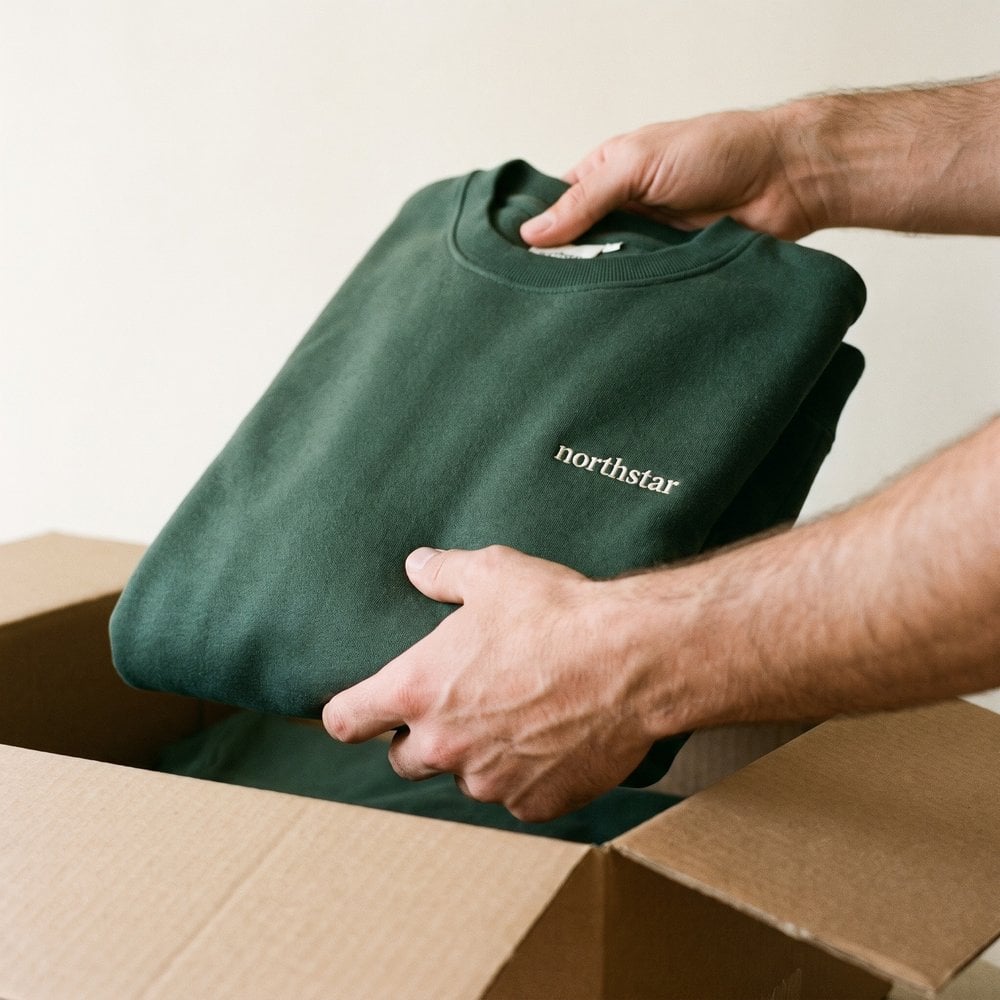
You've got viewers asking for a hoodie, a catchphrase that keeps appearing in comments, and a store template ready to publish. Then the awkward questions arrive. Which garment should you sell, what should it cost, and who pays when someone says the fit is wrong?
Profitable merch for YouTubers starts with those questions, not a logo mockup. Match the product to the viewer's relationship with your channel, approve what you're really selling, and measure what remains after fulfilment and returns. A small, readable launch beats a sprawling catalogue you can't diagnose.
Table of Contents
- Six Stages from Idea to First Merch Payout
- Choose Designs Each Viewer Stage Will Buy
- How to Set Up Shopping Tags on Your Videos
- Sizing and Return Benchmarks to Check Before You Scale
- Fulfil Orders Without Holding Stock
- Metrics That Show Real Profit, Not Just Clicks
- Promote Each Drop Without Burning Your Audience
- Pick Your Sales Model and Launch This Week
Six Stages from Idea to First Merch Payout
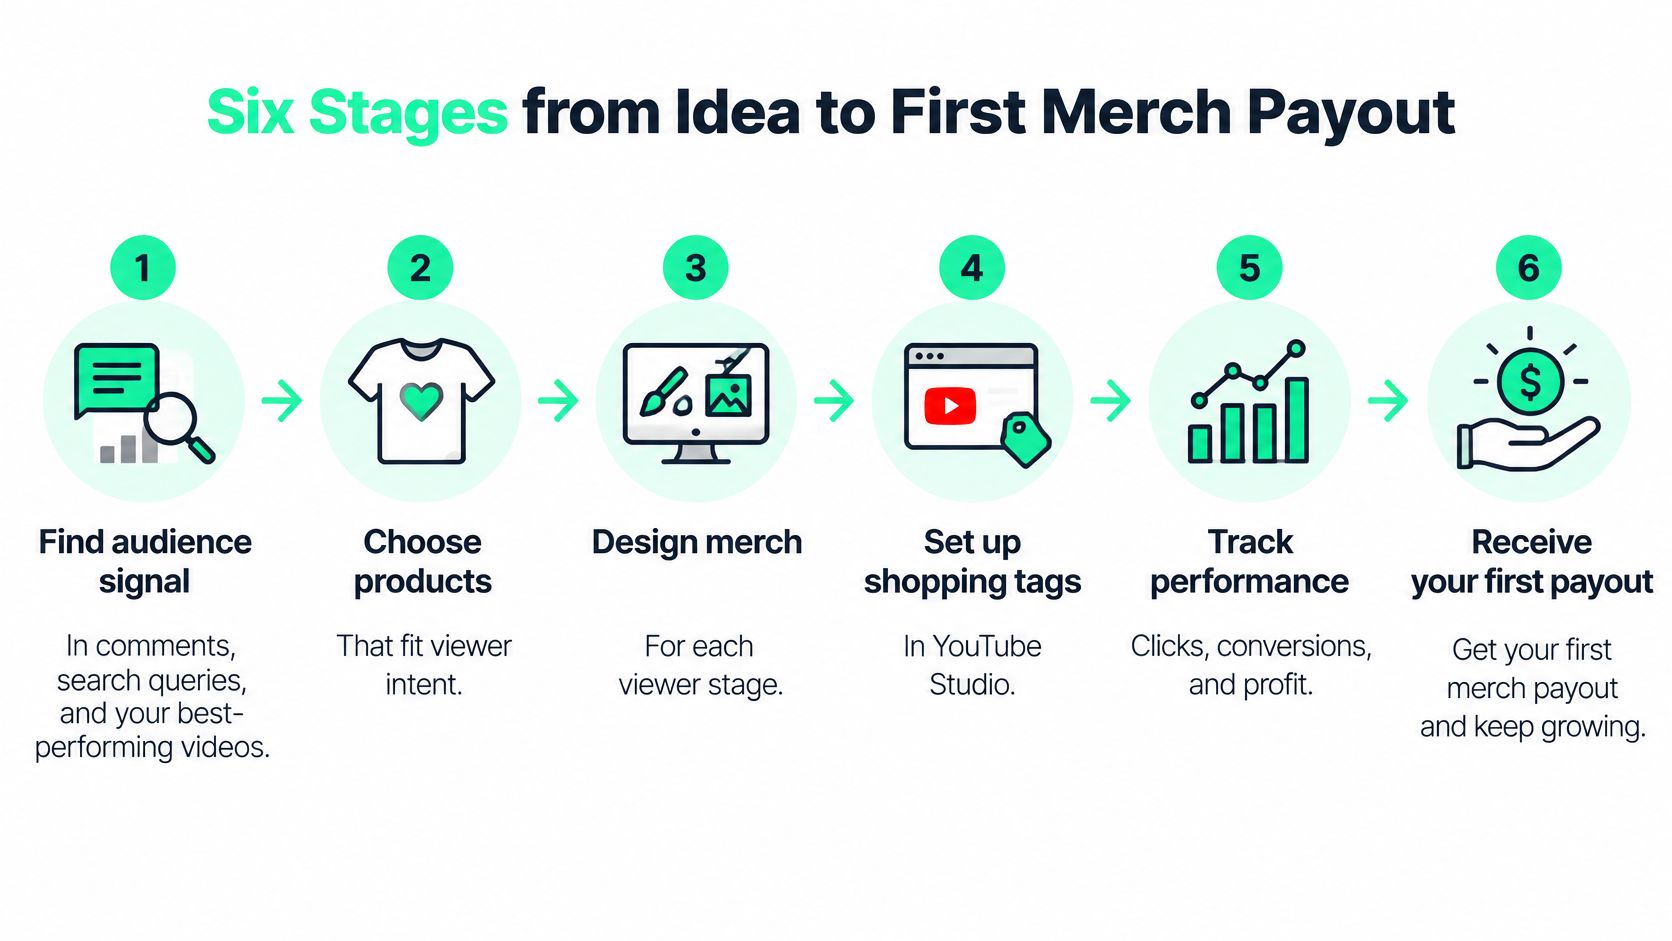
Follow six stages: find audience demand, design the products, approve samples, build the store, launch tagged content, and review the money left after costs. You can overlap design work with store preparation, but physical sample approval must come before promotion.
Use this process map to keep the commercial work connected to the creative work.
Set completion gates, not an optimistic deadline
A launch calendar should reflect your supplier's sample lead time and your audience's demand, not how quickly you can upload artwork. The table is your working reference: each output proves you're ready for the next commitment.
Merch launch stages, decisions and outputs
| Stage | Decision to make | Output that finishes it | Typical duration |
|---|---|---|---|
| 1. Audience signal | Which comments, searches and videos show repeat demand | A short, ranked list of product ideas | Until requests recur across separate uploads |
| 2. Design | Logo, slogan or style-led art for each product | Print-ready files for each blank | Until placement and print specifications are confirmed |
| 3. Sample check | Fit, print quality and colour on a real garment | An approved physical sample | Supplier sample lead time, plus any revision |
| 4. Store setup | Product pages, pricing and shipping zones | A live store with product links | Until checkout and shipping tests pass |
| 5. Tagging and launch | Which videos, Shorts and livestreams get product tags | Tagged content and a measurement plan | Scheduled publication and launch checks |
| 6. Payout review | Profit after production, shipping, refunds and creator share | A keep, change or drop decision for each product | After settlement and a meaningful returns review |
Start an evidence sheet rather than relying on memory. Record the viewer's exact request, the video it appeared under, the proposed product, and whether the person mentioned fit, price or delivery location. A recurring request for a heavyweight training tee is more actionable than general encouragement to make merch.
Before choosing an operating route, review the creator launch options against the responsibilities in the table. Assign an owner to every unfinished task, even if you're currently doing everything yourself.
Launch gate: A finished mockup proves that you have artwork. An approved sample proves that you have something you can responsibly sell.
Have you seen a repeated demand signal yet? If not, stay at audience discovery and exploratory design. Opening checkout won't resolve uncertainty about what viewers want.
Choose Designs Each Viewer Stage Will Buy
A new viewer, a regular viewer and a superfan need different reasons to buy. The newcomer needs a useful or attractive product; the regular viewer appreciates a recognisable reference; the superfan may want an unmistakable badge of membership.
That distinction matters beyond your existing subscribers. In a 2025 Google/SmithGeiger survey of U.S. Gen Z users aged 14–24, 61% said YouTube helped them discover unfamiliar brands or products, according to YouTube's shopping report. Your merch should make sense to someone discovering the garment before they understand the channel.
The audience journey helps separate those buying motivations.
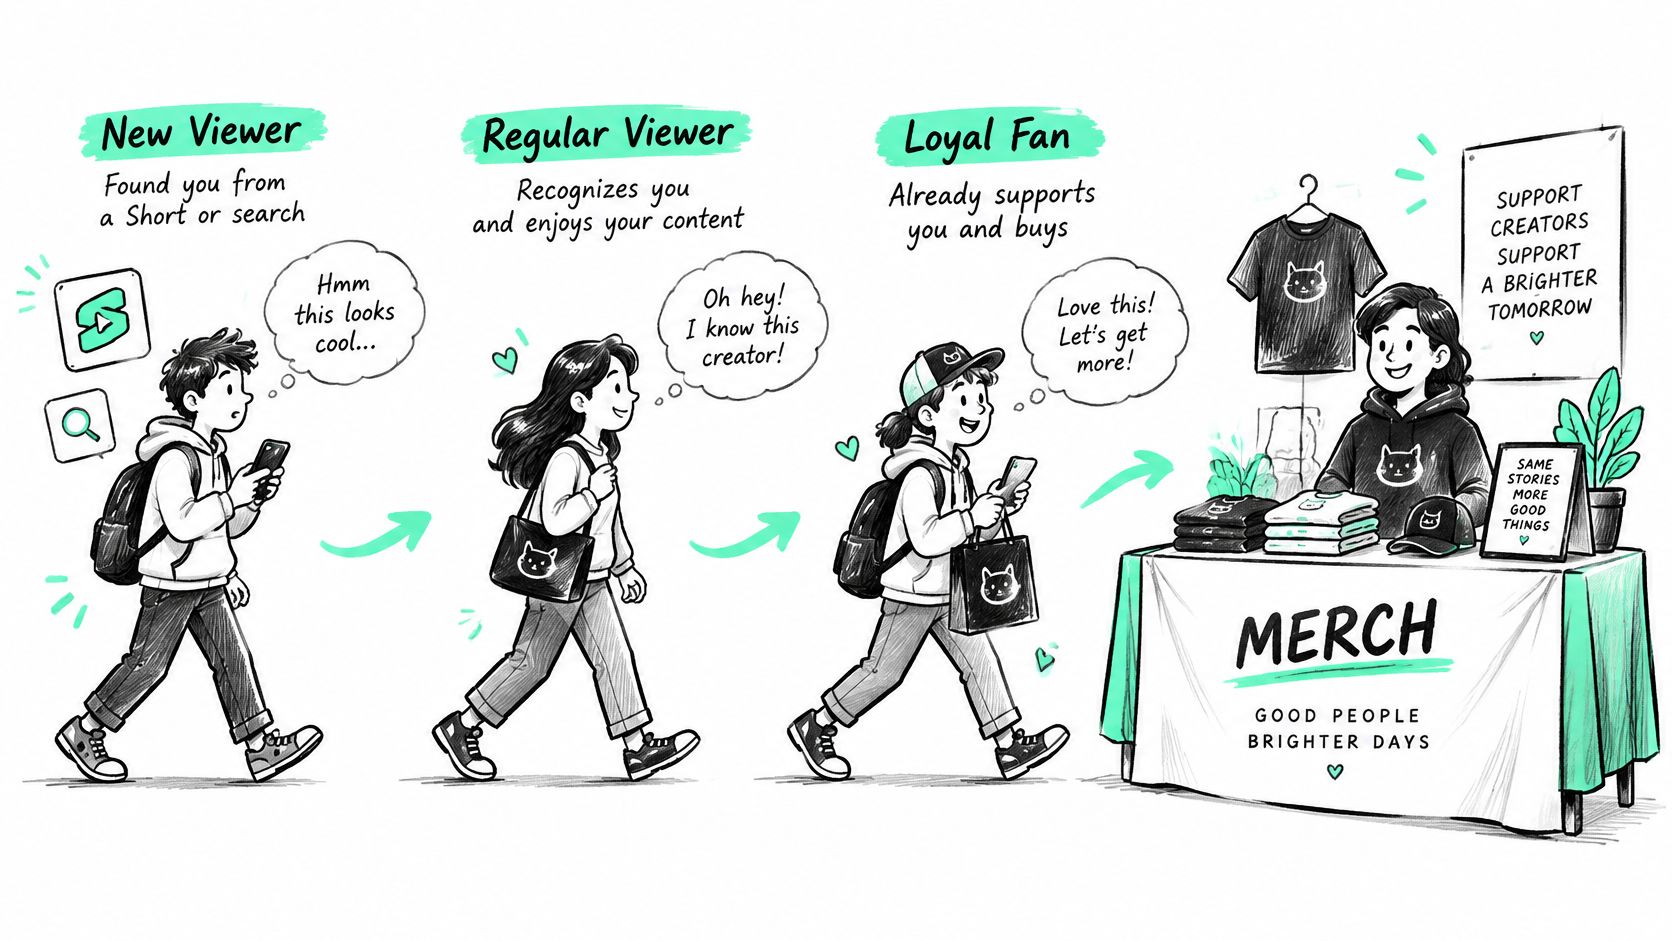
Product fit by viewer stage
| Viewer stage | Product that fits | Design rule | Sizing risk |
|---|---|---|---|
| New viewer | Plain or style-led tee, tote bag, cap | Small mark or none; design works without the channel | Tee moderate; tote and adjustable cap low |
| Regular viewer | Hoodie or tee | One recurring catchphrase or reference | Hoodie high; tee moderate |
| Superfan | Limited colourway, crewneck, numbered run | Channel mark front and centre | Crewneck high; numbered apparel needs a tested size mix |
These risk labels are planning judgements, not measured return-rate categories. A fitted cap still needs sizing information, while an oversized hoodie can disappoint buyers who expected a conventional cut.
Give each design a different buying reason
For a search-driven newcomer to a gardening channel, a botanical illustration on a tote can stand alone. Don't require them to explain an inside joke whenever someone asks about it.
For a regular viewer, put a recurring segment reference on a tee or hoodie. Keep the reference readable and resist combining every channel joke into the same graphic.
For a superfan, a distinctive crewneck colour or numbered edition can justify a more explicit channel mark. Only promise numbering or scarcity if production can deliver it accurately.
Use the design exploration workspace to compare restrained, reference-led and overtly branded directions before approving files. Judge each against the actual garment colour and print area, not an isolated square of artwork.
I'd cap the first drop at three designs, with a different viewer-stage hypothesis behind each. Treat the outcome as directional: if the tote wins, you still need to separate the appeal of its artwork from its usefulness and lower fit exposure.
How to Set Up Shopping Tags on Your Videos
Shopping tags connect a product catalogue to your content, but the setup isn't identical for every account. Check the options available inside your own YouTube Studio rather than following an old eligibility screenshot.
This illustration summarises the connection and tagging workflow.
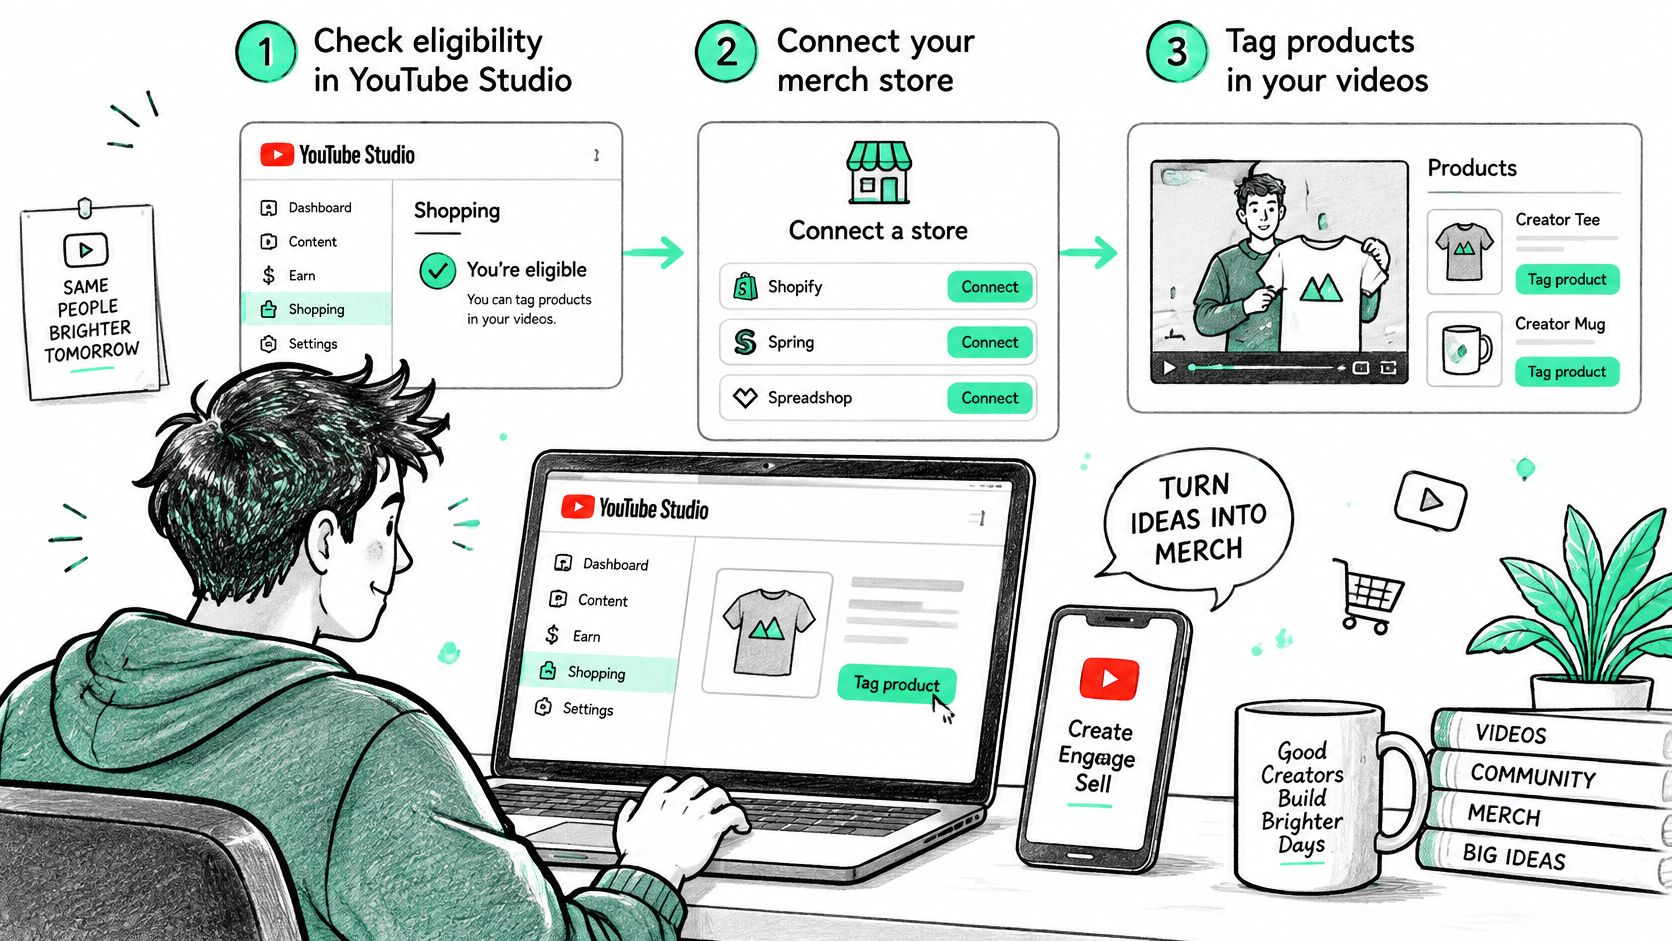
Connect the catalogue before planning placements
Check your account's eligibility. Open YouTube Studio and inspect the Shopping options under Earn. Read the current terms and country availability, and distinguish selling your own merchandise from promoting another merchant's products as an affiliate.
Connect a supported store. Follow the connection flow offered in Studio and confirm that the correct merchant catalogue appears. An external store existing on the internet doesn't automatically make it available for native tagging.
Clean up the listings. Use buyer-facing names such as “black heavyweight hoodie” rather than internal stock codes. Confirm that the colour, size options, product image and destination page all describe the same item.
Choose relevant content and placement. Tag the garment where viewers can understand its relevance, such as during a fit demonstration. Where timing controls are available, align the appearance with that demonstration rather than an unrelated opening shot.
Configure each format separately. Inspect the available product controls for your long-form upload, Short and livestream. Preview the published experience instead of assuming that settings transfer neatly between formats.
Check reporting after launch. Open the available Shopping reports in YouTube Analytics and inspect product engagement and traffic. Allow for reporting delays, and use store records to confirm purchases rather than treating a product click as an order.
A demonstration clip needs to show the item clearly, not become a separate advertising production. If you're exploring ways to make YouTube videos with AI, ClipNova AI can be a production resource, but keep actual garment footage for fit, texture and colour.
Use the video walkthrough alongside the controls visible in your account.
Catch the avoidable setup mistakes
- Audit older uploads manually. Don't assume a new catalogue connection gives existing videos the product selection you intended. Update descriptions and pinned comments where useful.
- Keep the selection focused. Feature the product being discussed instead of presenting the entire collection at every opportunity.
- Match photography to production. Don't publish a rendered embroidery effect when buyers will receive a flat print. The listing should describe what arrives, not the most flattering approximation.
Sizing and Return Benchmarks to Check Before You Scale
A returned hoodie costs more than the original outbound shipment. You may pay for reverse shipping, inspection, repacking, replacement delivery and a garment you can no longer resell as new.
That's why the cheapest blank isn't necessarily the cheapest product to operate. A slightly more expensive garment with consistent measurements can be a better decision than a cheaper alternative with unpredictable fit.
Build a garment-specific fit record
Start with the exact blank, including its supplier identifier, cut and fabric composition. Record chest width, body length and sleeve measurements using a consistent method, then ask the manufacturer for acceptable production tolerances.
Publish body-measurement guidance alongside garment measurements. Explain whether the item is fitted, standard or oversized, and tell buyers how to compare it with something they already own.
- Inspect representative sizes. Don't approve the entire size range from a single middle-size sample. Check how print placement and proportions change across the range.
- Test the finished garment. Follow its care instructions, then inspect shrinkage, print condition and seam distortion before approving the listing.
- Photograph real fit. Show the actual item on different body types, with the worn size and relevant model measurements.
- Code return reasons. Separate too small, too large, unexpected cut, print defect and transit damage. Record SKU, size, country and fulfilment batch.
Use industry benchmarks as warning lights
Fulfillment.com's apparel guidance estimates clothing returns at 20–30%, approximately 40% during promotional peaks, and attributes about 70% of apparel returns to fit or sizing. These are directional industry estimates, not averages for YouTuber merch, and shouldn't become your target.
Apparel return benchmarks and what to do with them
| Metric | Benchmark | What it signals | Action |
|---|---|---|---|
| Typical apparel return rate | 20 to 30 percent | A broad clothing comparison point | Compare each SKU, accounting for order volume |
| Return rate during promotional peaks | About 40 percent | Greater potential return exposure around promotions | Hold an exchange reserve before a promotion |
| Share of returns caused by fit or sizing | About 70 percent | Fit guidance deserves close attention | Publish a measurement chart and garment-specific notes |
Keep cash available for exchanges before spending launch proceeds. Test size demand before buying stock, and pause a SKU when persistent fit complaints or a significantly higher return rate justify investigation.
A low return rate is useful only if buyers can actually request a return. Don't confuse a difficult policy with a well-fitting product.
Analyse global drops market by market. Different size conventions, duties, transit times and return arrangements can make a combined store average misleading.
Fulfil Orders Without Holding Stock
With print-on-demand, production begins after purchase, so you don't commit to finished inventory in advance. The trade-off is less room to optimise unit costs through bulk production, plus a delivery promise that must include manufacturing time.
A no-stock model removes unsold-stock exposure. It doesn't remove your responsibility for an order that arrives late, looks wrong or needs replacing.
Set the operating rules before publishing
Cost each shipping market. Include the blank, decoration, packaging, outbound shipping, payment fees, refund allowance and any creator revenue share. Establish who bears duties and taxes, and don't assume a domestic margin survives international delivery.
Separate production from transit. Give buyers a realistic dispatch expectation and a destination-specific delivery estimate. Explain how mixed-product orders work if items may ship separately.
Write usable return terms. State where buyers should report problems, who pays return postage, how exchanges work and what happens with damaged or incorrect goods. Check applicable local consumer rules rather than copying another store's policy.
Track batches and destinations. Link complaints to the production run and carrier route where possible. A cluster of cracked prints needs a production investigation; a cluster of late parcels needs a logistics response.
Describe environmental attributes precisely. Name the blank, decoration method and packaging, and retain supplier evidence for any material or certification claim. Made-to-order production alone doesn't establish a product's total environmental impact.
Before opening another shipping zone, place a test order through the same checkout a buyer will use. Inspect tracking messages, packaging, delivery charges and the support contact shown in the confirmation email.
Expand geography only when the customer promise works. Accepting an overseas order is easy; replacing a misprinted garment across a border can erase the original contribution.
Metrics That Show Real Profit, Not Just Clicks
Clicks aren't profit. A product can earn attention while losing money through expensive fulfilment, refunds or a price that never covered its operating costs.
Treat tagging as an experiment rather than a decorative store link. Choose content with a credible product use case, then compare similar uploads while changing as little else as practical.
Build a useful comparison
Keep a comparable group of untagged videos, and separate Shorts, long-form uploads and livestreams. Match topic, audience intent and publication conditions where possible; this won't create a perfect laboratory, but it reduces obvious attribution errors.
YouTube's Shopping documentation confirms product tagging and product-engagement reporting, and reports that tags generated more than twice as many clicks as description links in a study. That's a platform-specific benchmark, not a promised apparel conversion lift.
Use the dashboard below as a reminder to follow the purchase beyond the click.
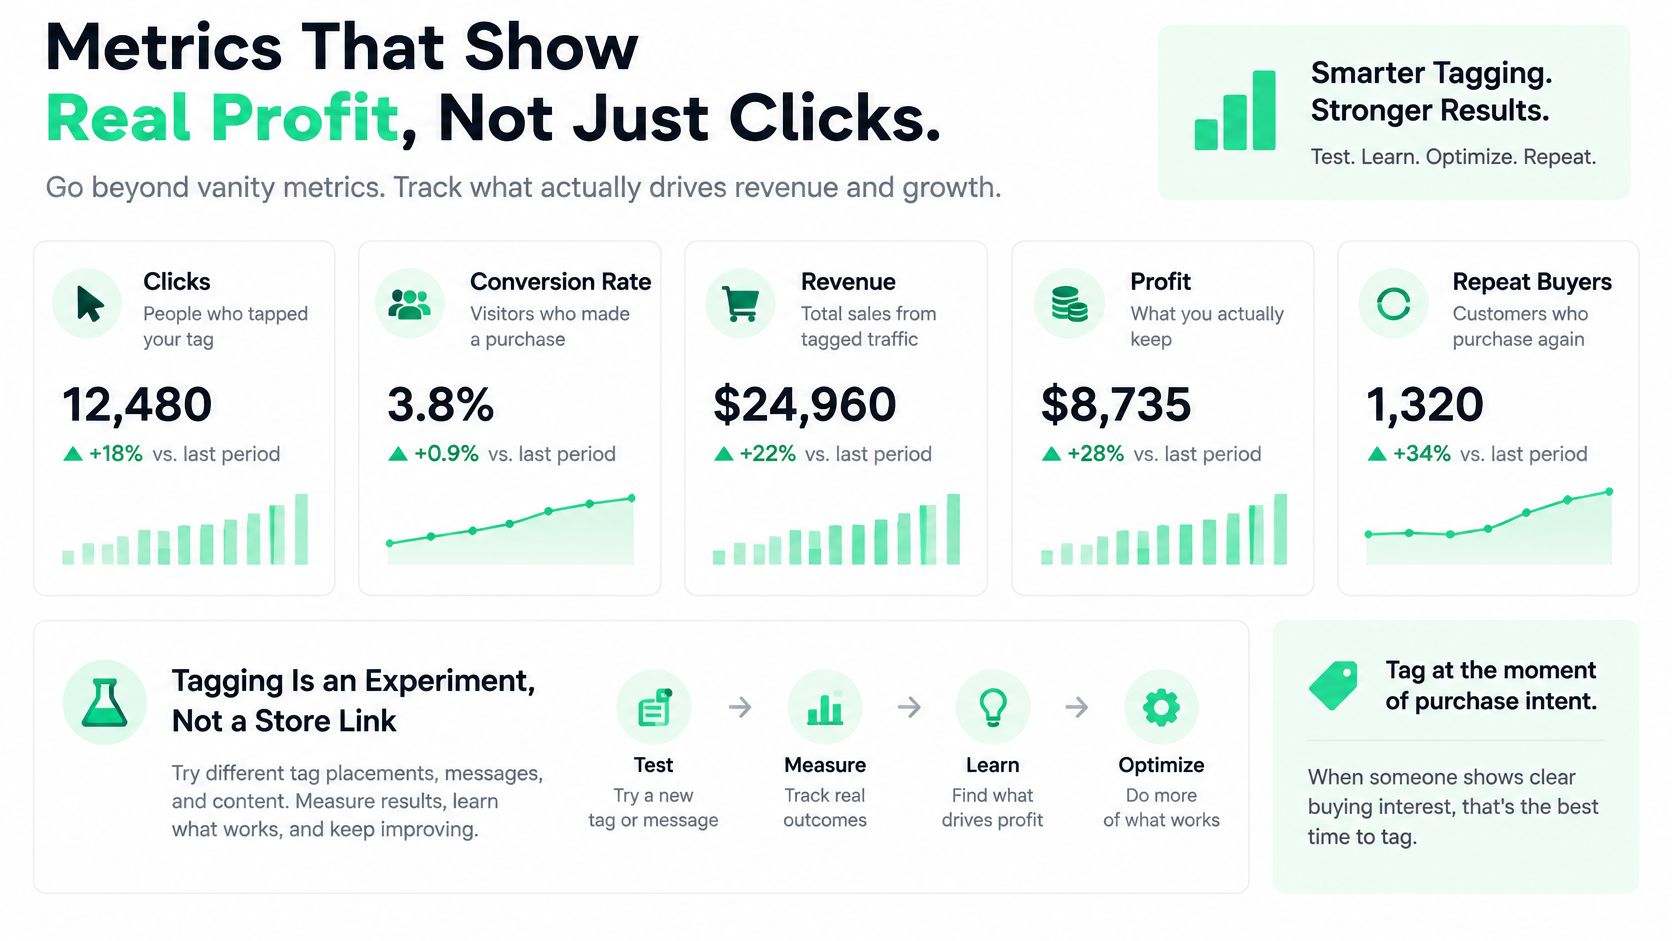
Merch metrics and the decision each one drives
| Metric | Where to find it | Decision it drives |
|---|---|---|
| Impressions per tagged video | YouTube Analytics, where available | Whether viewers encounter the shopping placement |
| Product-page click-through rate | Available Shopping engagement reports | Whether the product presentation earns interest |
| Orders and revenue | Your store dashboard | Whether interest becomes paid demand |
| Commission normalised by video views | YouTube Analytics and your ledger | How commerce contributes alongside other video income |
| Profit after production, shipping, refunds and creator share | Store reports plus your own ledger | Keep, change or drop the product |
Report product-page conversion separately from video engagement. If viewers click but don't order, inspect the size information, delivered price and delivery promise before redesigning the artwork.
Define the profit line before judging a winner
Calculate net sales minus production, packaging, shipping subsidies, transaction fees, refunds, replacement costs and creator share. Then account for fixed store, design and support costs before calling the operation profitable.
Don't count creator share twice. If you're the creator and store owner, distinguish your compensation from the store's operating result.
Change thumbnail, placement, colour, price or call-to-action individually where practical. Platform-wide gross merchandise volume can rise because more merchants participate or shoppers place larger orders; it cannot establish that your own conversion improved.
Promote Each Drop Without Burning Your Audience
Wear the approved product during an ordinary upload before asking viewers to buy it. They should be able to see how it sits, moves and fits within the channel's normal content.
Promotion works better when it answers a purchase question. Repeating that merch is available adds little after viewers already know.
Make every appearance useful
Show the product doing its job. Wear the hoodie during a familiar segment or use the tote on a relevant outing. Give viewers a reason to notice it without interrupting the main video.
Use a genuine sales window. If ordering closes, publish the actual cut-off date consistently in the video, description and pinned comment. Don't manufacture scarcity for an item you intend to keep selling unchanged.
Turn Shorts into fit demonstrations. Show the front, back, sleeve length and movement. Answer the most common sizing question early rather than spending the opening on a logo animation.
Make purchase help easy to find. Put the store destination and measurement-chart guidance in a pinned comment where appropriate. Native shopping controls and ordinary comment links serve different purposes, so preview both.
Keep promises behind approval. Don't announce a fabric, colour or dispatch date until production has confirmed it. A concept preview should be clearly labelled as a concept, not presented as finished stock.
Use exact product language. Describe verified materials and construction rather than broad environmental praise. Buyers can assess a specific attribute; they can't assess an unsupported impression.
Answer fit questions publicly. Give the garment measurement or fit detail that resolves the question. Move order numbers and personal information into private support.
Watch the nature of replies, not just their volume. Questions about sleeve length suggest buying interest; complaints that every upload has become a sales pitch call for less repetition and better placement.
Trust comes from making the purchase predictable, not from making the promotion louder.
Pick Your Sales Model and Launch This Week
For a smaller channel without dependable purchase demand, marketplace discovery is worth testing. For an established channel that can bring its own buyers, a direct storefront usually offers more control over merchandising and customer experience.
A Net Influencer analysis of creator commerce identifies the same broad distinction between marketplace benefits for smaller creators and direct-to-consumer advantages for larger ones. Treat channel size as a starting point, not the deciding factor: a tightly focused audience can be commercially useful without being enormous.
Choose the workload you can support
| Sales model | Main advantage | Trade-off to accept |
|---|---|---|
| Marketplace | Access to shoppers beyond your channel | Platform fees, listing competition and less control |
| Direct storefront | Control over presentation and customer relationships | You must attract traffic and organise the operation |
| Managed operation | Less production and support coordination | Clear agreement on responsibilities and economics is essential |
Don't confuse a marketplace with a fulfilment service. Check who manufactures, dispatches, supports and refunds each order, regardless of where checkout happens.
For this week, choose one product from the viewer-stage table and prepare its measurement chart and commercial worksheet. If its sample is already approved and your Shopping connection is ready, tag it in an upcoming relevant video; otherwise, make sample approval the immediate task.
Keep the launch narrow enough that you can explain why each item exists. Expansion should follow demonstrated demand and manageable service requirements, not the number of products your supplier can print.
For a managed route, our YouTube merch programme offers YouTube Shopping, and we create the collection and store, then handle production, delivery and support.
FLYP LTD helps creators turn channel ideas into a merch collection and store, with production, delivery and support handled after design approval. Visit FLYP LTD to explore a YouTube merch launch, and bring a recurring audience request, a product direction and the markets you want to serve.