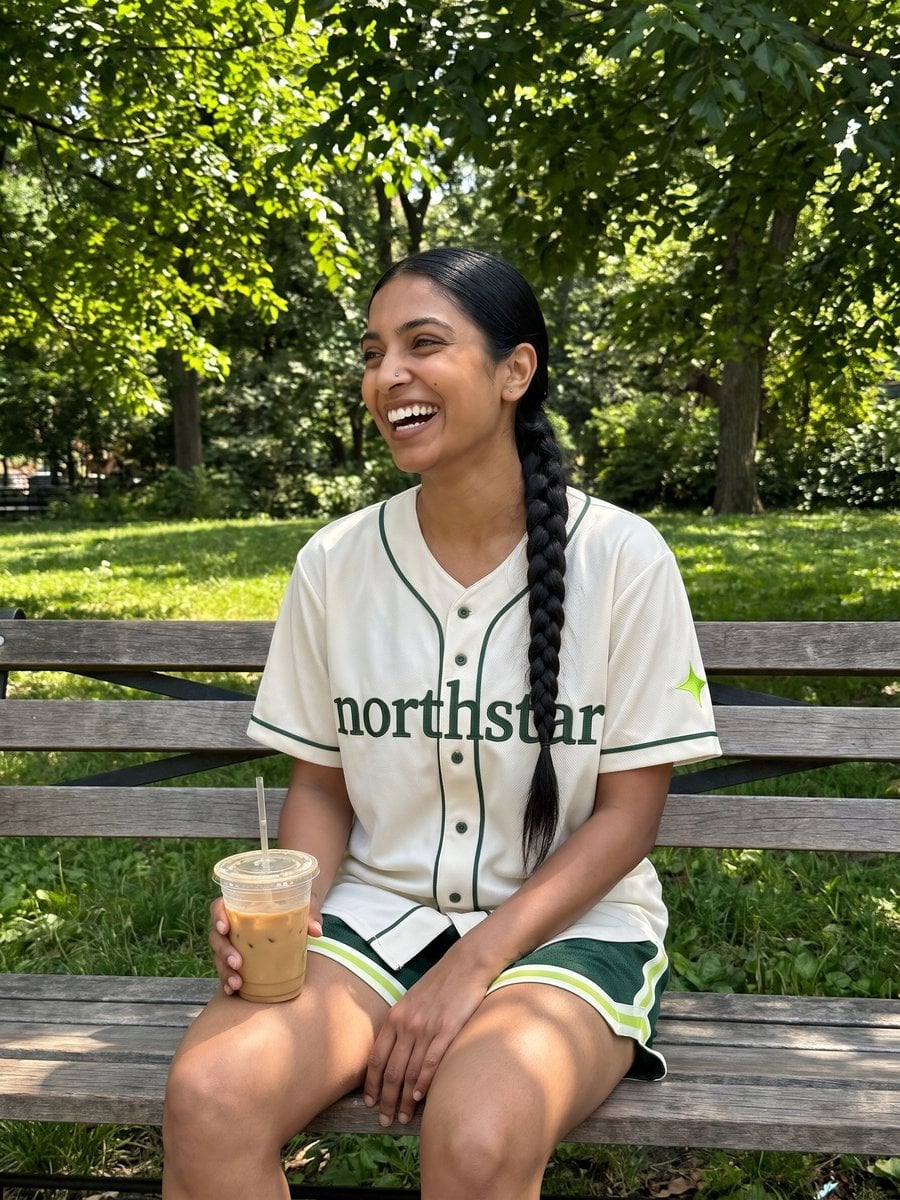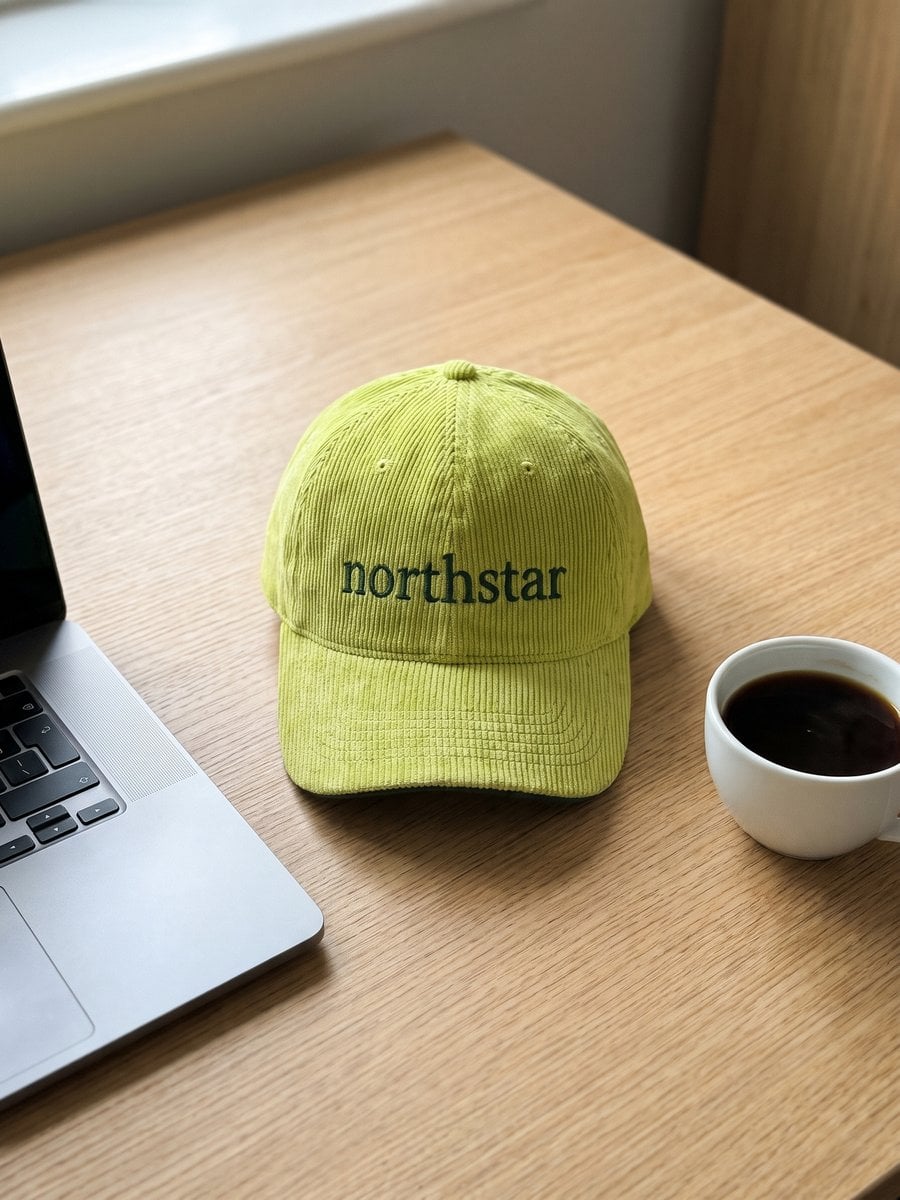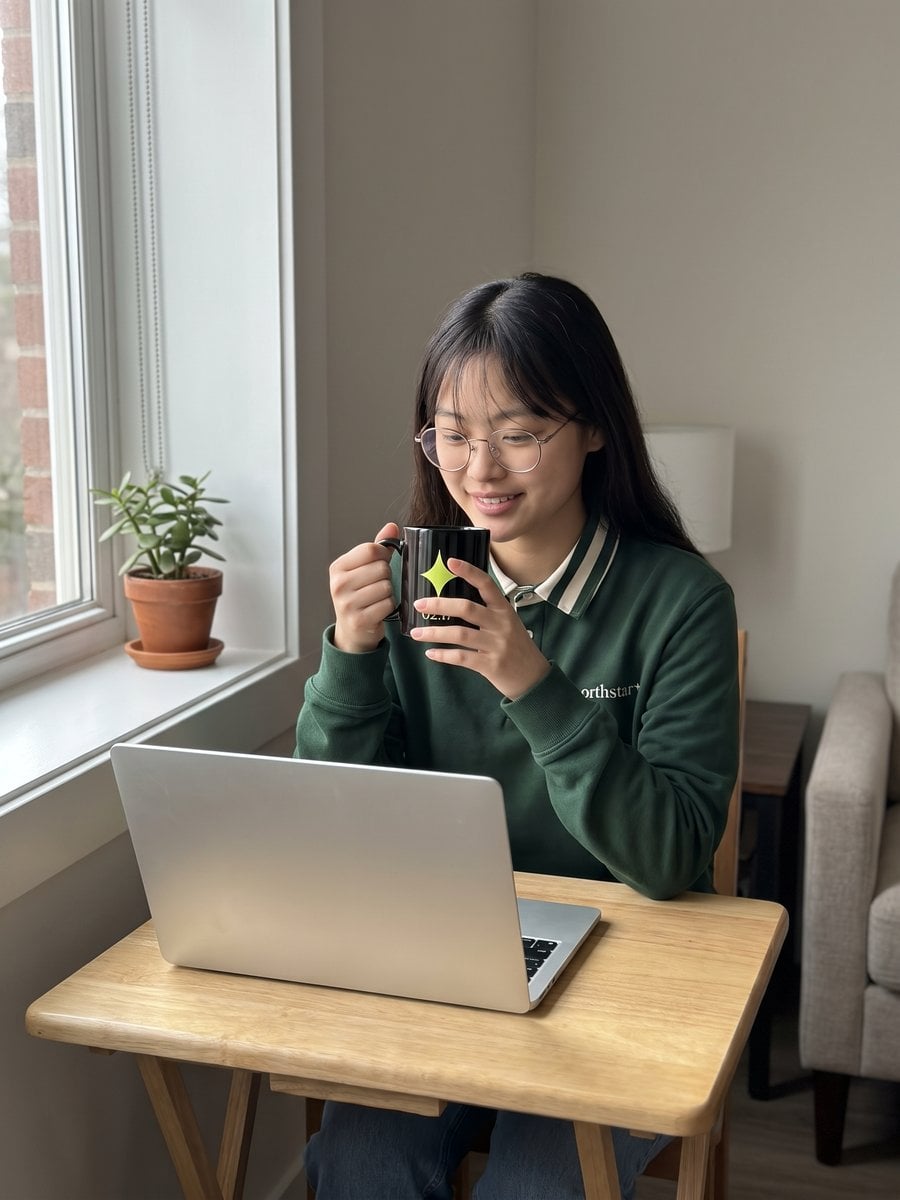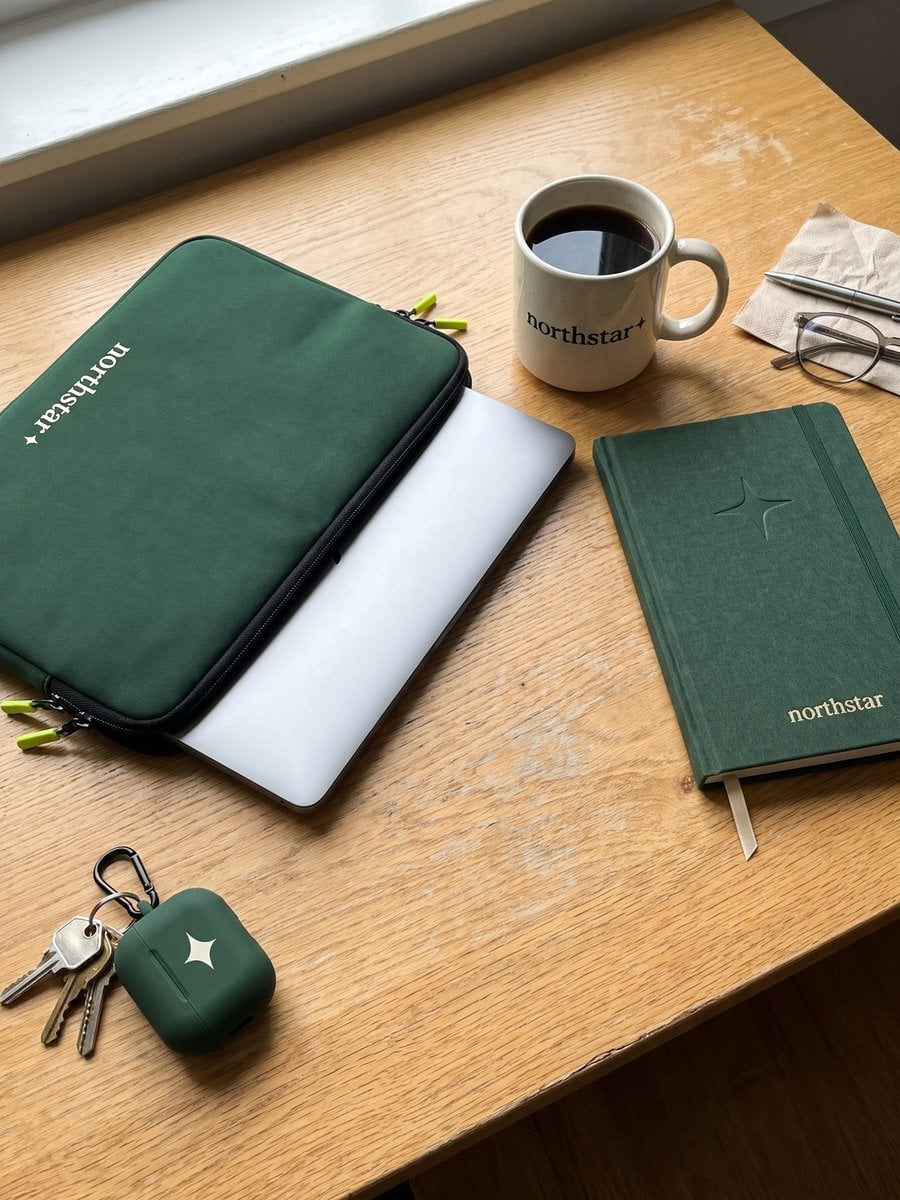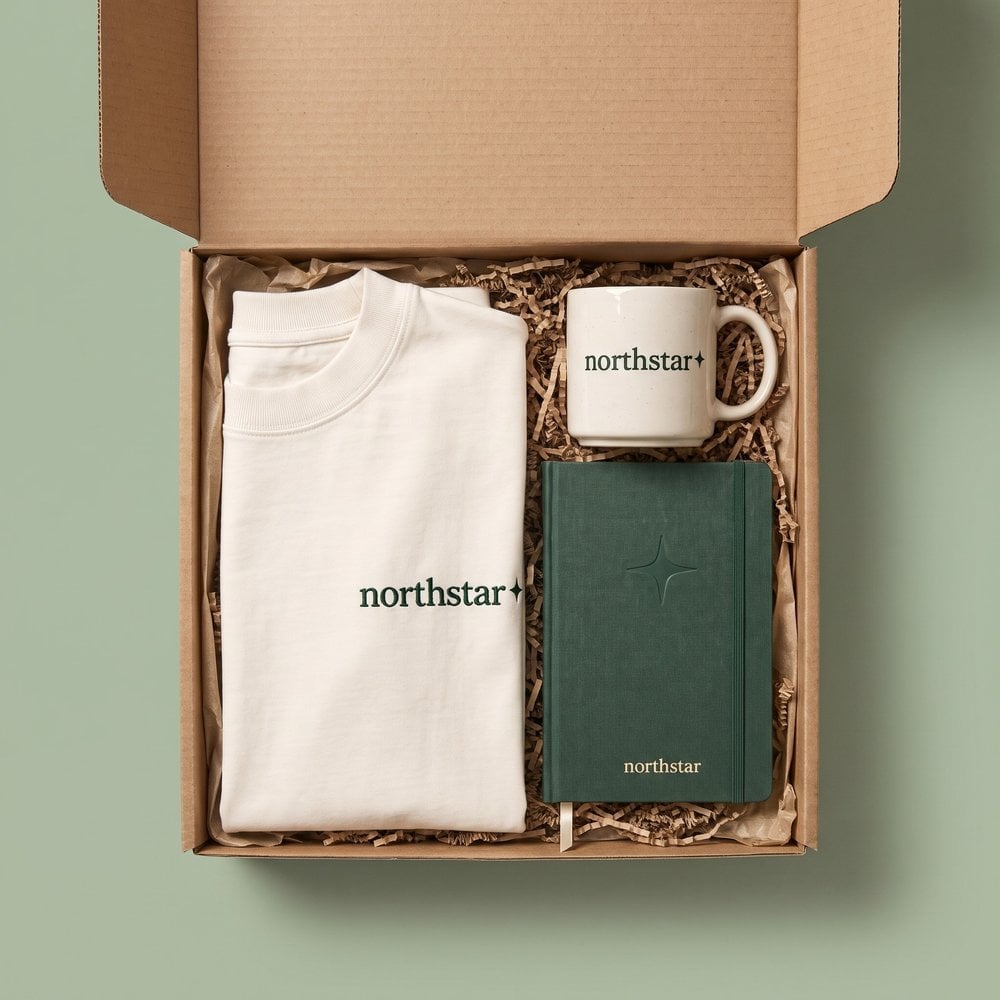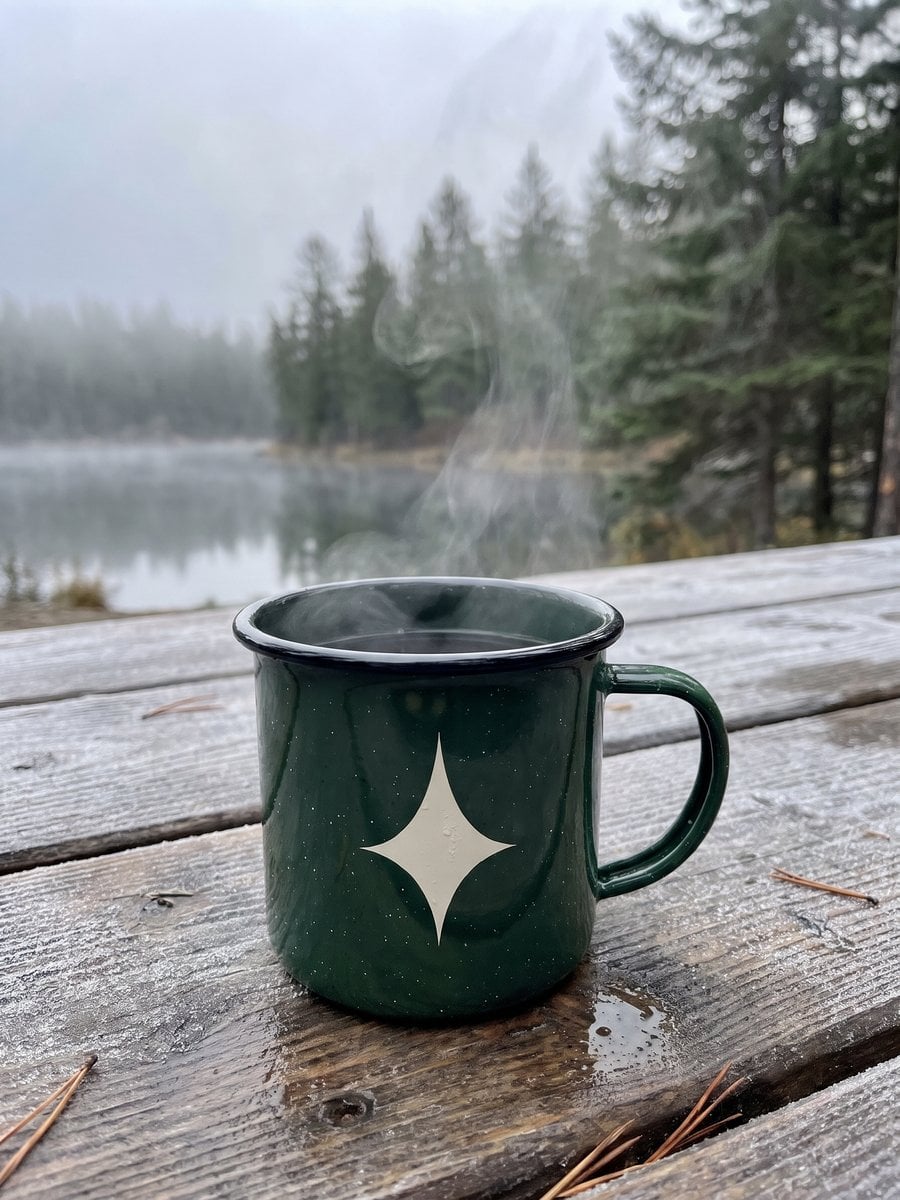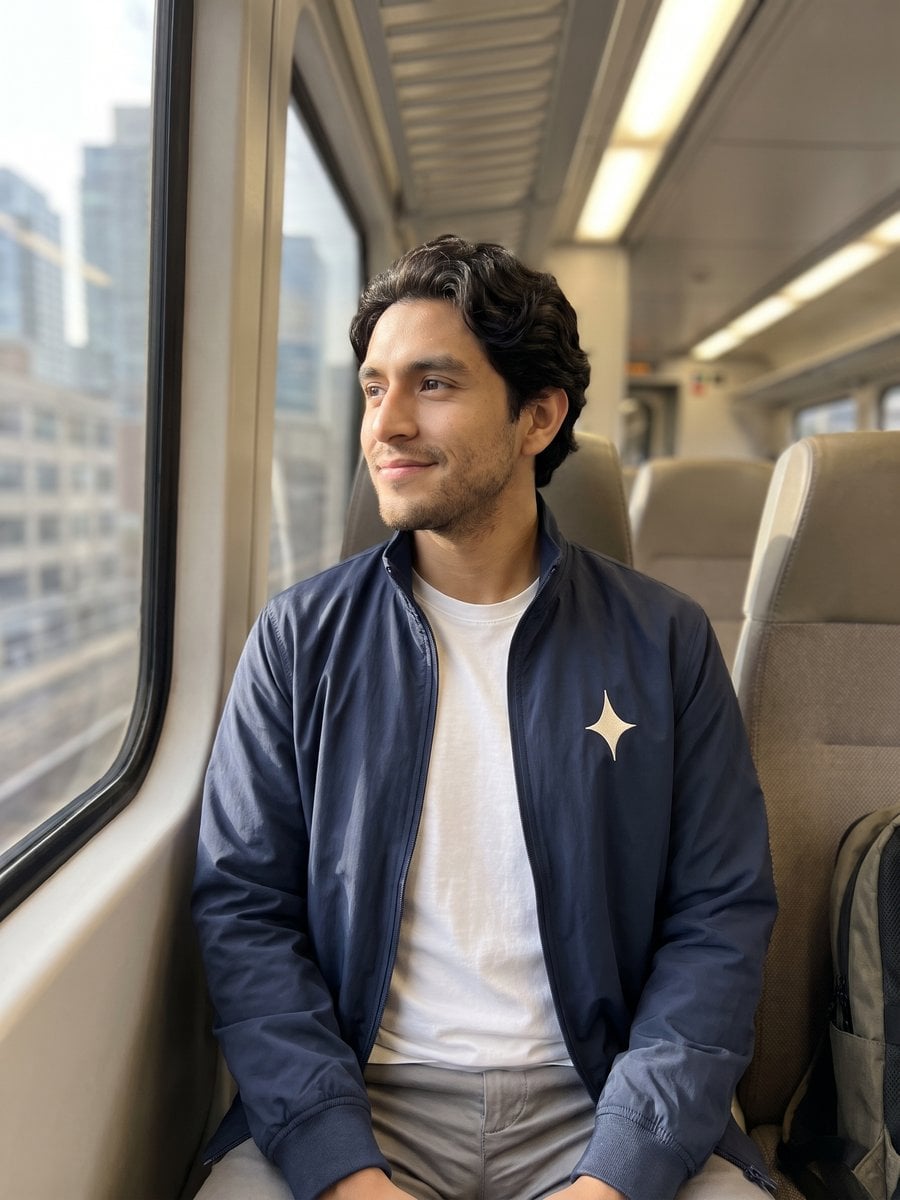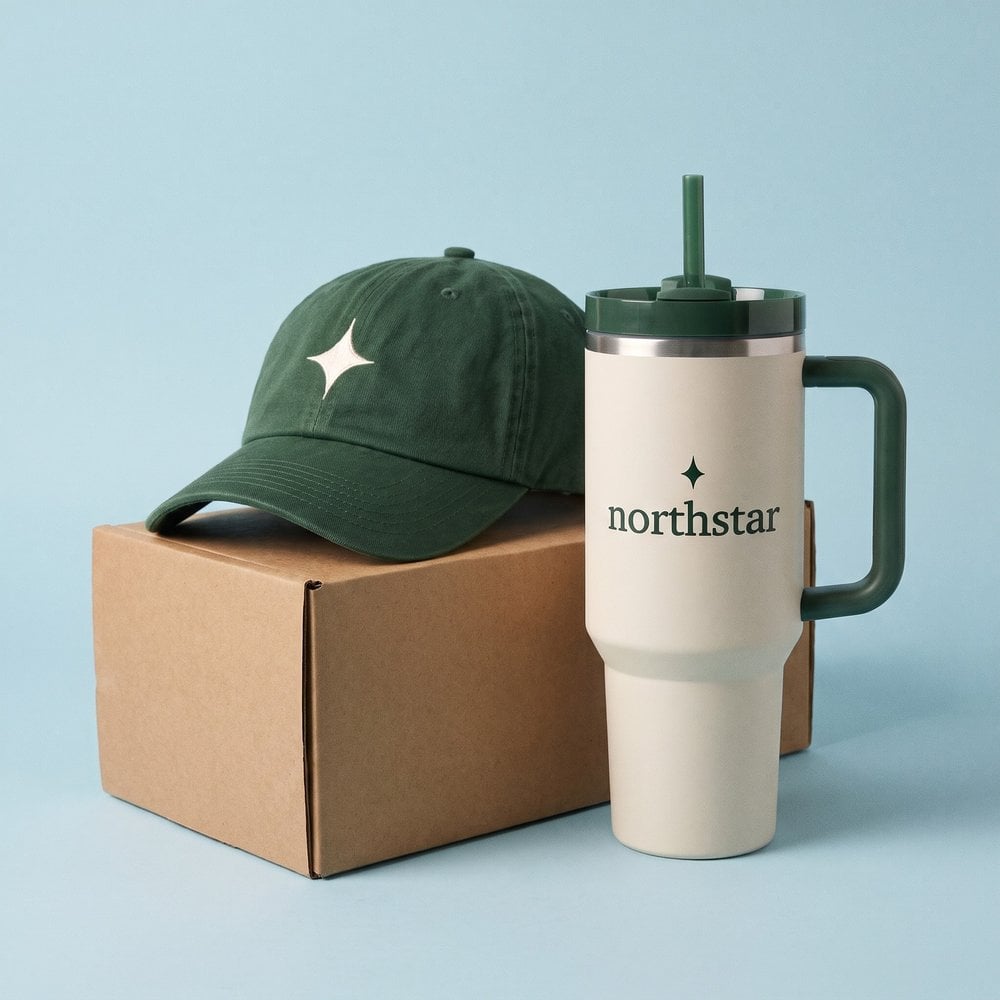
You've got an onboarding deadline, a logo folder and a request for merchandise people will keep wearing. The mockups look good, but nobody has settled the garment, checked the size chart or seen the brand colour printed on fabric. Approving the order now would mean approving several unknowns.
Custom merchandise design starts before the artwork. It includes choosing something recipients want to wear, making fit understandable and checking how the design reproduces on the actual material. Those decisions belong before production, when you can still change them without replacing finished stock.
Table of Contents
- How Custom Merchandise Design Works, Start to Finish
- Set the Brief Around Goals, Audience and Brand Rules
- Choose a Garment People Will Wear, Not Just Accept
- Match the Decoration Method to Your Artwork
- Fit and Sizing Decisions That Prevent Returns
- Approve Colour and Artwork Before You Order
- Approve a First Sample and Launch Your Program
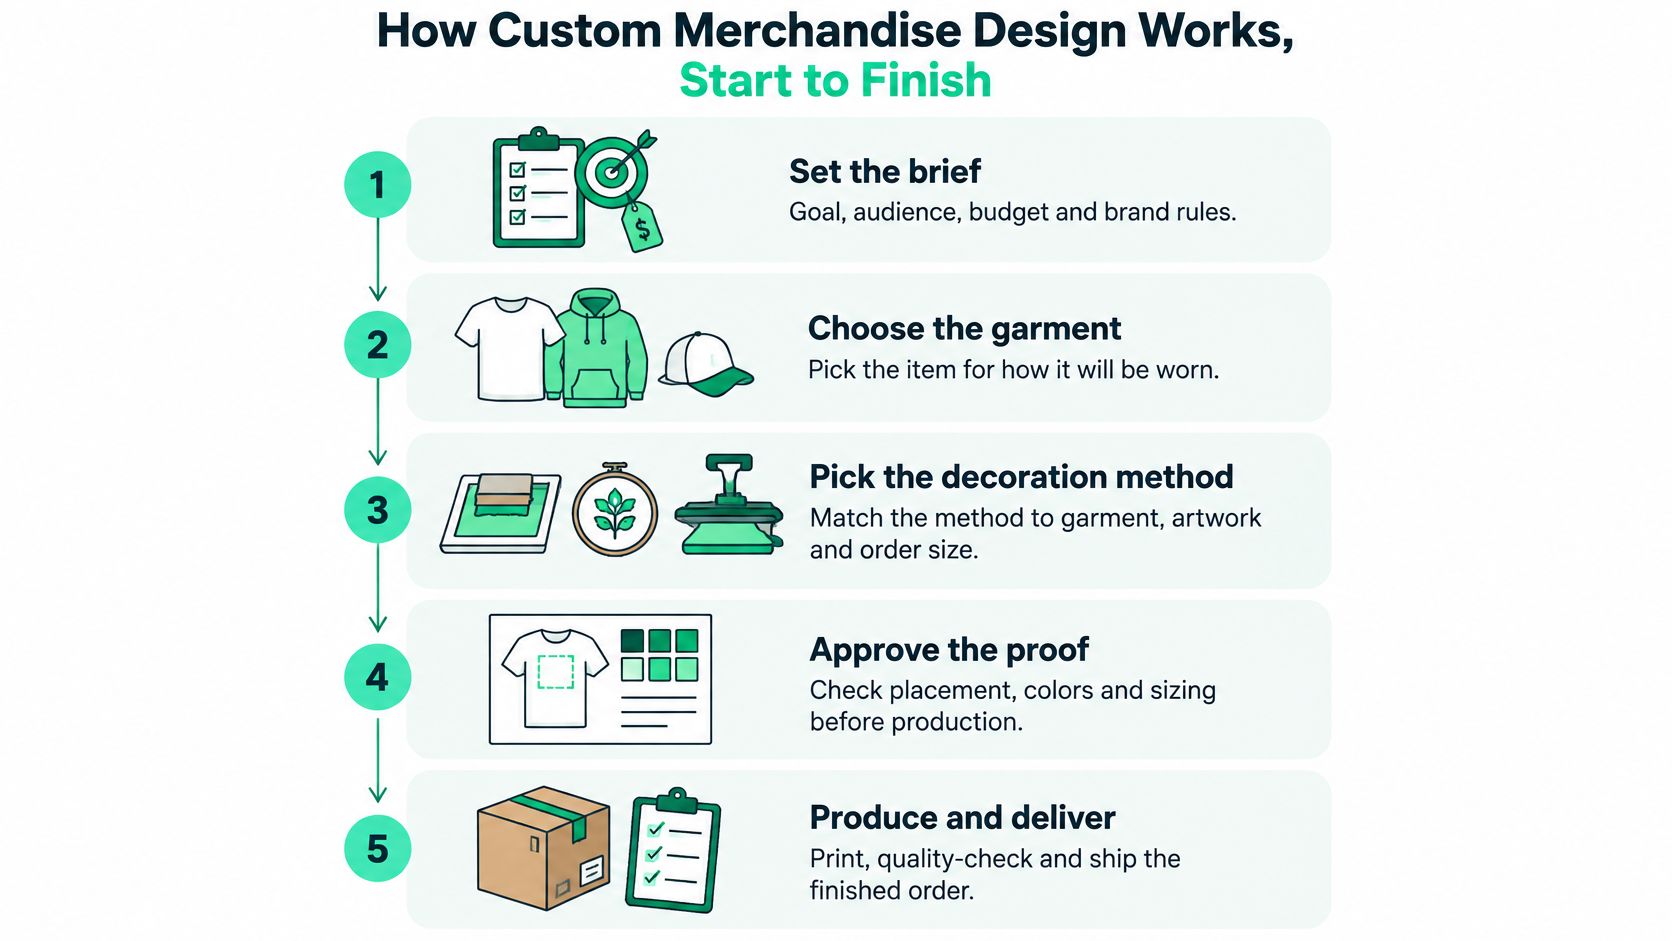
How Custom Merchandise Design Works, Start to Finish
- Set the brief. Define the goal, audience, budget and brand rules. This locks in which products are viable and what the designer must work within.
- Choose the garment. Pick the item for how it will be worn. Its fabric, construction and colour determine which decoration methods are practical.
- Pick the decoration method. Match the process to the artwork and order size. This establishes the limits for detail, colour reproduction and placement.
- Create and approve the artwork. Review colour, dimensions and placement proofs. Approval establishes the specification the production team must reproduce.
- Produce, sample and deliver. Make a first sample, inspect it and release the bulk run only after sign-off. Then check finished goods against the approved reference before shipping.
Apparel represented 26.6% of U.S. promotional-product sales in 2024, making it the largest product category, according to PPAI's sales-volume estimate. For an apparel-led program, the garment deserves as much attention as the graphic.
Use this process map to keep the decisions in order.
Why the sequence matters
Say your team approves a detailed illustration before choosing a cap. When you switch from printing to embroidery, the decorator may need to simplify the artwork until it no longer resembles the approved design.
Late changes create physical work, not just administrative work. A colour correction after printing may require replacement garments; a wrong size discovered after delivery adds exchanges and another shipment.
Production rule: Don't treat an attractive mockup as permission to manufacture. Release production against a signed specification and an approved first sample.
Work through the decisions in sequence, with a named approver at each stage. The first sample is the final checkpoint before those decisions become the bulk order.
Set the Brief Around Goals, Audience and Brand Rules
Goal. Choose a primary purpose: onboarding kit, recognition gift, event drop or employee-choice store. An onboarding item needs dependable availability for future hires; an event garment has a fixed arrival deadline. A recognition gift may justify a more distinctive finish, while a store needs a manageable collection rather than unrelated products.
Audience. Name the recipients and where they live, including climate, age range, working environment and whether they'll wear the garment outside work. Don't assume office staff, warehouse teams and remote employees need the same item. For global programs, specify regional garment options while keeping shared visual rules.
Give the designer usable boundaries
Budget. Set both a target unit cost and a total program budget. Include artwork preparation, decoration, samples, packaging and delivery rather than comparing blank-garment prices alone. State whether the program is a single drop or recurring, because repeat orders need retained specifications, colour references and size-selection records.
Brand rules. Supply minimum logo size, clear space, approved colour references, typefaces and forbidden uses. Explain whether a tonal logo, sleeve mark or embroidered adaptation is permitted. If those decisions aren't documented, use this guide to creating brand guidelines before asking a designer to interpret the brand.
Source files matter, too. Provide editable vector logos where available, plus the brand website, style guide and any approved examples. We can start a design from a brand URL, logo, style guide or written brief, but the team still needs to identify which assets are authoritative.
Use the video as a shared reference during your team's design discussion.
Sign the brief before design begins
Keep the working brief concise enough for every approver to read.
- Goal: Purpose, delivery deadline and the person responsible for approval.
- Audience: Recipient groups, locations, use conditions and fit preferences.
- Budget: Unit allowance, total ceiling and included cost categories.
- Brand rules: Colour standards, logo treatments, typography and prohibited applications.
- Files: Approved assets, version names and a shared storage location.
Have People, marketing and the budget owner resolve disagreements here. A designer shouldn't have to discover conflicting expectations through rounds of revisions.
Choose a Garment People Will Wear, Not Just Accept
Visibility isn't the same as success. Buyer survey findings reported by the Miami Herald indicate that 67% of buyers consider a swag program successful only when recipients voluntarily wear or use the items, while 45% identify durability as the most important product feature.
That changes how you choose a blank, the undecorated garment. Start with fabric feel, construction and silhouette, then decide where the branding belongs. A large logo won't rescue a scratchy neckline or a cut recipients dislike.
Garment types by program goal and wear profile
| Garment | Best for | Wear profile | Decoration that suits it |
|---|---|---|---|
| Heavyweight garment-dyed tee | Onboarding kits and everyday wear | Substantial feel and vintage appearance; check softness and shape retention in the sample | Full-colour DTG or an embroidered logo |
| Relaxed or drop-shoulder tee | Recognition gifts and employee-choice stores | Roomier silhouette for casual everyday wear | Screen print or DTG |
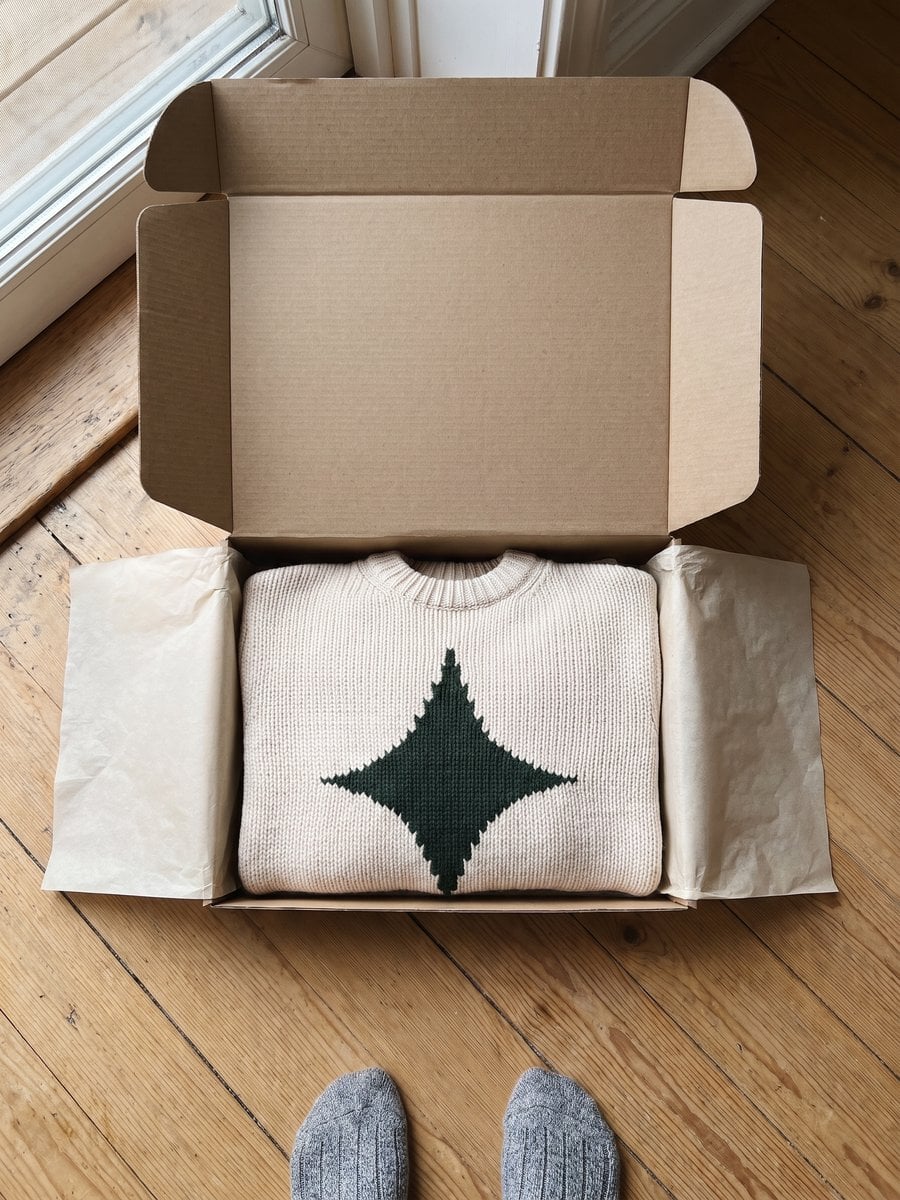
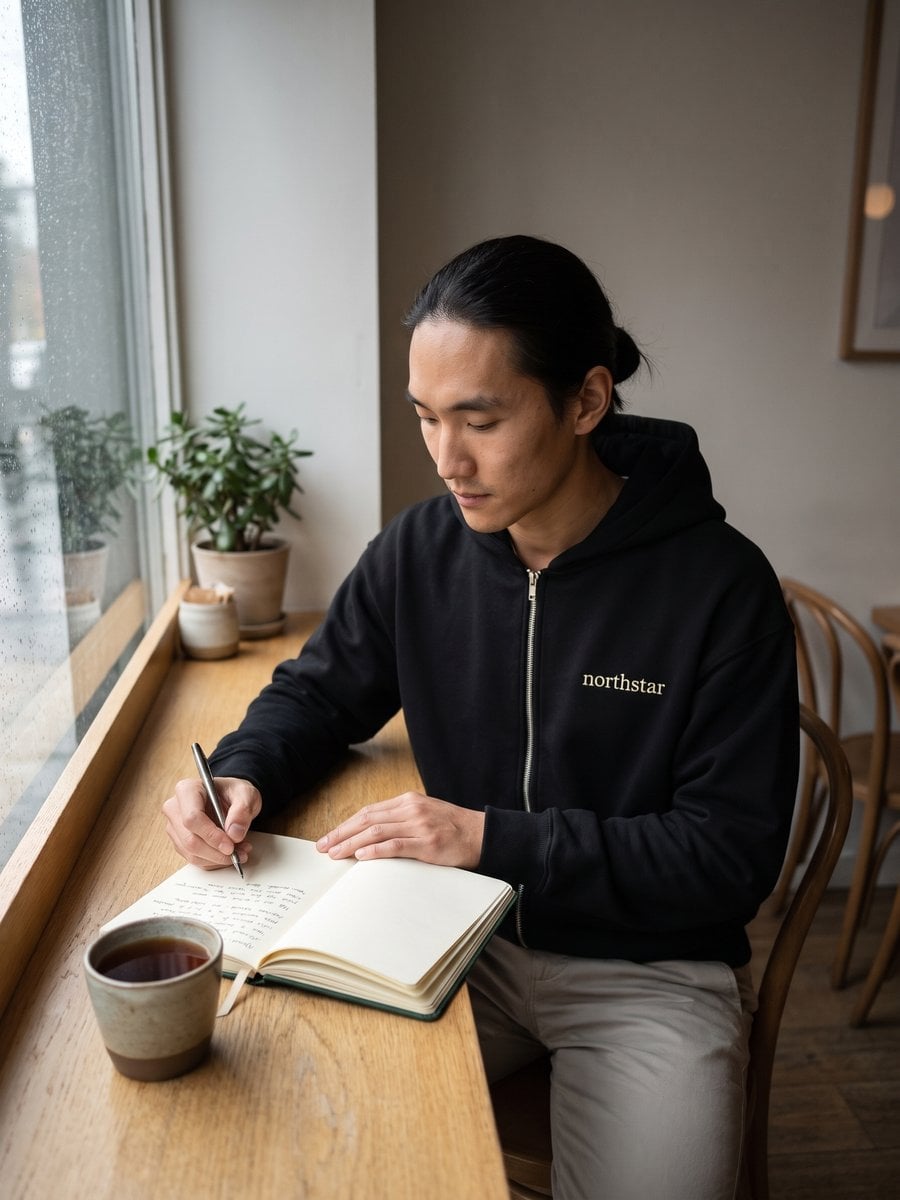
| Hoodie or crewneck | Cold-weather programs and premium recognition | Warm, substantial garment that needs an inclusive size range | Embroidered chest mark with DTG back or sleeve art |
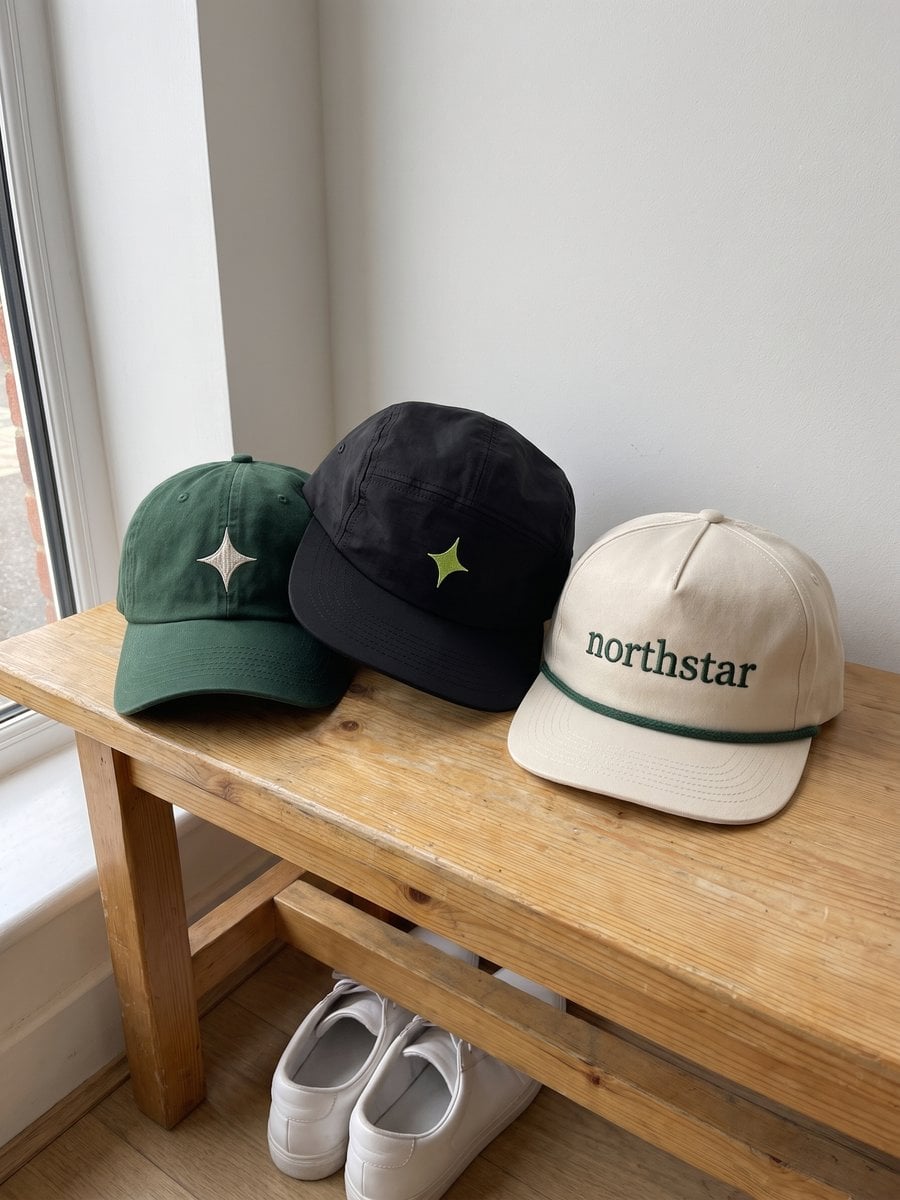
| Cap | Events and outdoor teams | Adjustable styles simplify size selection, but crown depth still affects fit | Embroidery |
| Tote or accessory | Events, conferences and welcome bags | No apparel sizing; check strap comfort and carrying capacity | Screen print or embroidery |
Evaluate the blank before adding the logo
For everyday apparel, compare heavyweight garment-dyed tees with softer, lighter alternatives rather than assuming more fabric always means better quality. Inspect the collar, seams, drape and finish. This guide to premium blank T-shirts can help you build a shortlist around those differences.
Ask a small recipient group to wear candidate garments during normal activities. Have them comment on sleeve shape, fabric against the skin, neckline comfort and whether they'd choose the item on a non-work day. Wash the samples according to their care labels and inspect them again.
The useful question isn't whether someone likes the mockup. It's whether they would reach for the finished garment without being asked.
Keep the collection coherent, not identical
Choose climate-appropriate fabric before standardising a worldwide collection. A substantial hoodie might suit a cold-weather recognition program but make little sense as the only option for colleagues in warm regions.
Neutral colour families can make a small brand mark feel intentional without turning the entire garment into an advertisement. Unisex patterns can simplify a collection, but offer an alternative cut where recipient feedback identifies a gap.
Shortlist a primary garment and a fallback for each program goal. After launch, track wear frequency, repeat requests and recipient satisfaction, not just units distributed. To assess cost per sustained use, compare total program spending with recipients' reported repeat use, using a consistent follow-up method.
Match the Decoration Method to Your Artwork
A logo that looks sharp on a mockup can arrive as a stiff print that cracks, or as stitches that pucker a lightweight tee. Decoration is a design decision made before production, because it changes how the garment feels on the body, how the colours render and how well the artwork survives washing. Match the method to the artwork and the run size before you commit to a quantity.
Decoration methods by artwork, run size and lead time
| Method | Best for | Main limit | Typical lead time |
|---|---|---|---|
| Screen printing | Large runs with a few solid spot colours | Setup cost makes small runs harder to justify | Runs longer than DTG on small orders, because screens are prepared before printing; ask for a dated schedule |
| Direct-to-garment (DTG) | Small runs with full-colour artwork | Works best on cotton-rich fabrics | Shorter setup than screen printing; starts once the garment and artwork are approved |
| Embroidery | Premium hoodies and caps with a logo or wordmark | Fine detail and small text need simplification | Allow 4–6 weeks for high-volume events |
| Woven labels or patches | Brand tags and collectible items | Requires setup, exact sizing and an attachment plan | Allow 4–6 weeks for high-volume events |
| Heat transfer | Names, numbers and small personalised details | Adhesion and wash performance require testing on the selected fabric | Quick to apply once the material is tested; confirm timing for the chosen transfer and quantity |
Choose by artwork and production economics
Screen printing pushes ink through a prepared screen, and each colour in the design needs its own screen. That setup cost is shared across the whole run, which is why the price per piece drops as quantity rises and why a small order with many colours can cost more than expected. Ask for quotes against the actual colour count, print locations and quantity rather than assuming a large order is automatically cheaper.
DTG prints directly onto the garment and handles photographs, gradients and smaller full-colour drops that screen printing would struggle to price. Cotton-rich blanks are a practical starting point, and the finish still needs a sample on the exact fabric you intend to use. If you approve a print on one blank and then switch to another, you have approved nothing.
Embroidery builds the design from stitches, so it rewards bold marks and punishes fine detail. Simplify narrow gaps, tiny lettering and thin outlines before digitising, and remember that stitch density changes how the garment wears: a dense logo can pull a light tee out of shape, while it sits comfortably on a heavyweight hoodie. For a closer comparison of these trade-offs, use our guide to embroidery versus print for company apparel.
For personalised recognition pieces, monogrammed keepsakes from Get Spliced provide a useful reference for thinking about initials and restrained personalisation rather than another large brand graphic.
Account for every added operation
Woven labels and patches need their own artwork dimensions, exact sizing and an attachment plan. Heat transfers suit individual names and numbers, but the transfer material, pressing conditions and garment must work together, so test adhesion and wash performance on the chosen fabric before ordering the full set.
Combining methods can make sense. A heavyweight hoodie can carry an embroidered chest wordmark and a DTG sleeve graphic together. Each additional operation, however, brings its own setup, placement check and production allowance, so every embellishment you add extends the schedule.
For sales kickoffs and high-volume events with custom embroidery or woven labels, allow 4–6 weeks. Whichever method you choose, ask the decorator for a dated production schedule and keep artwork approvals, size collection and delivery planning visible on it, rather than treating the event date as the production deadline.
Make the decision in this order:
- Count the colours and identify gradients, photographs or fine detail.
- Match the method to the quantity using a quote for the specification.
- Confirm garment compatibility with the decorator's requirements.
- Book the production window before committing to the delivery date.
Fit and Sizing Decisions That Prevent Returns
Online apparel returns in the United States were estimated at 23.4% in 2025, and 53% of surveyed apparel decision-makers identified size and fit as the leading reason for online returns, according to the apparel-return findings discussed by TexFash. These are consumer apparel figures, not employee-merch return rates, but they identify a problem your design process should address.
For internal programs, recipients may never request an exchange. They may leave an unusable welcome gift in a drawer, so the absence of returns doesn't prove the fit worked.
Build a sizing plan around measurements
- Read the selected blank's chart. Compare chest width, body length and shoulder measurements with the intended fit. Establish whether the chart gives body measurements or finished-garment measurements, because they aren't interchangeable.
- Choose the silhouette deliberately. Relaxed cuts can suit casual collections; standard cuts may suit uniform roles. Describe the intended result rather than calling every garment true to size.
- Check the coverage of unisex patterns. Use them where they serve the audience well, not merely to reduce stock-keeping units. Add another cut when the fit trial reveals a consistent problem.
- Map regional labels to actual measurements. Keep the measurement units explicit and provide conversion support. A familiar size letter isn't enough evidence that garments from different suppliers fit alike.
- Test a size set. Include the offered range and recipients with different body proportions. Check movement, seated comfort, sleeve length and layering, not just appearance while standing.
- Make self-selection understandable. Publish fit photography, the model's worn size and the relevant garment measurements. For kits, offer a size-selection step before dispatch instead of guessing from incomplete employee records.
Check fit in the complete outfit
Layering changes how an item sits. A hoodie needs room over the clothing recipients will wear, while a jacket needs usable movement through the shoulders.
Ceremonial apparel makes this principle especially clear. Gradshop's guide to sizing stoles around hoods and gowns is a useful reference when branded accessories must work with other garments rather than in isolation.
Fit check: More size labels won't fix inconsistent specifications. Confirm the measurements before expanding the range.
Keep size records tied to the exact blank and cut. If a replacement supplier changes those specifications, reopen the fit decision instead of carrying the old size selections forward.
Approve Colour and Artwork Before You Order
A screen preview can establish composition, but it can't establish a fabric colour match. A 2025 digital-textile-printing study found an average overall difference of 24.34 ΔE*ab between display and fabric samples, with fabric showing the narrowest reproduction range.
That measurement describes the study's samples, not a guaranteed error for your order. The practical lesson is to approve the physical output rather than expecting a glowing display and a textile surface to look identical.
Give colour approval a repeatable method
- Use the right colour profile. Have the artwork prepared through a textile-specific ICC workflow matched to the printer, ink and substrate. Don't apply a generic conversion and assume it represents the production setup.
- Request a physical strike-off. This is a test print on the intended material. Compare high-visibility brand colours with the approved swatch under consistent lighting.
- Agree on a measurable tolerance. Use CIELAB measurements and a stated difference formula, such as CIEDE2000. Record the acceptance threshold before reviewing the proof so reviewers aren't inventing standards after seeing it.
- Check method-specific file settings. Resolution, separations and halftones must suit the decoration process. Keep an editable master and supply production files at their intended output size.
- Review the actual garment colour. Check contrast, ink opacity and any underbase on the selected blank. A design approved on white isn't automatically approved on charcoal.
- Archive the approved combination. Store the physical reference, artwork version, printer setup and garment specification together for repeat orders.
Separate file approval from product approval
For screen printing, match bitmap and halftone settings to the mesh rather than exporting at an arbitrarily high resolution. The UMBC screen-printing bitmap guide explains the relationship between mesh, output settings and moiré risk. Low-resolution edges and incompatible halftone settings are different problems, and increasing resolution won't solve both.
For programs that include non-apparel keepsakes, HonHo Wholesale Jewelry's private-label ring sampling steps offer a useful parallel: material-specific sampling belongs before bulk commitment.
Approve placement in measured terms, too, using the garment's seams as reference points. A sample costs time and money, but correcting a failed bulk run means repeating work across finished goods rather than fixing a file.
Approve a First Sample and Launch Your Program
The first sample is your production reference, not a presentation prop. It should use the intended garment, decoration process and artwork version. A substitute blank or an unfinished decoration trial can answer a narrow question, but it can't approve the complete product.
Order a sample for every distinct garment-and-decoration combination. Inspect seams, puckering around embroidery, print feel, alignment and finishing. Move the garment as it will move when worn, including stretching lightly across the shoulders and checking whether artwork crosses a pocket or seam awkwardly.
Test the recipient experience
Have recipients with different body proportions try the relevant samples. Ask them to sit, reach and layer the garment as intended, then record specific issues rather than a general thumbs-up.
Check the store or kit photography against the finished product. If the image shows a different cut, colour or artwork scale, replace it before collecting orders. Recipients should choose from an honest representation of what they'll receive.
For recurring programs, set a reorder trigger based on expected demand, available stock and the booked production window. Keep the reference sample accessible, and require a fresh review whenever a garment, decoration setup or approved material changes.
Make the release decision traceable
Send the production team a single release package rather than scattered email approvals. Include the signed brief, final artwork, size breakdown, delivery instructions and photographs identifying the approved sample. Retain a matching reference for the person checking the delivered goods.
Use this sign-off checklist before releasing the order:
- Purpose confirmed: The final product meets the approved program goal.
- Garment locked: Style, fabric, cut and colour are identified.
- Sizes sampled: Fit checks are recorded and recipient selections are complete.
- Artwork approved: The final version, dimensions and placement are unambiguous.
- Colour accepted: The strike-off and any agreed measurement tolerance are documented.
- Schedule booked: Production and delivery milestones have named owners.
- Reference retained: The approved sample is available for production and delivery checks.
Send that signed release package and the approved sample to your internal production team or chosen provider to start the bulk order. If you outsource production, the same specification should travel with the order and remain the standard used at delivery.
FLYP LTD creates your merch collection and store, then handles production, delivery and support. Visit FLYP LTD with your brand assets and program brief to discuss a collection built around wearable garments, clear fit choices and approval before production.